
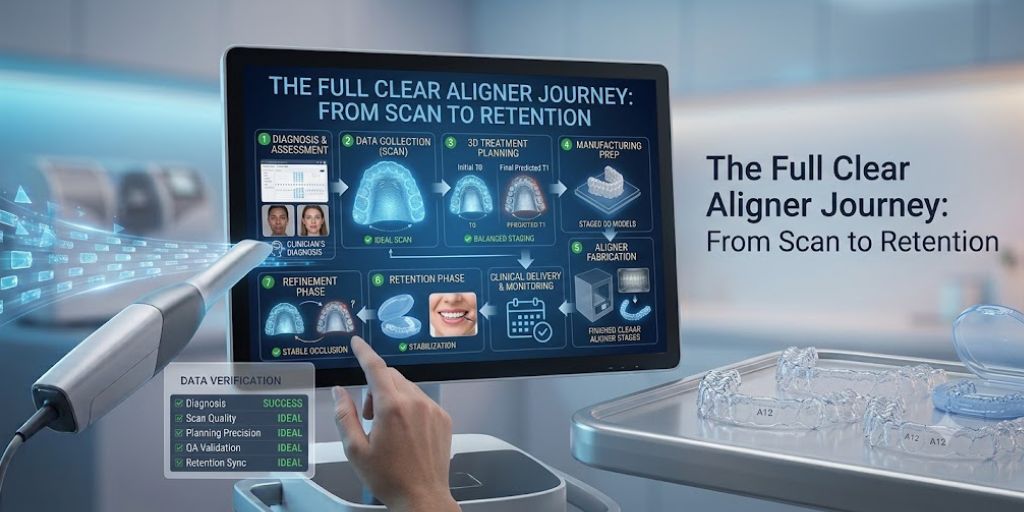
Clear aligner treatment is not a single procedure; it is a complete clinical journey that spans from diagnosis to long-term retention. Each stage of this journey plays a crucial role in determining the ultimate success of the treatment.
Understanding the full workflow allows clinics to identify inefficiencies, reduce delays, and improve patient outcomes.
Stage 1: Diagnosis and Case Assessment
The aligner journey begins with clinical diagnosis. This stage involves evaluating malocclusion type, skeletal relationships, and treatment feasibility.
At this stage, clinicians determine whether aligner therapy is appropriate or if alternative treatments may be required.
Key decisions include:
- Extraction vs non-extraction planning
- Severity classification
- Expected treatment duration
- Functional limitations
A clear diagnosis sets the foundation for the entire workflow.
Stage 2: Digital Data Collection
Once a case is approved for aligner treatment, digital data collection begins.
This includes intraoral scanning, bite registration, and photographic documentation.
The STL file generated during this stage becomes the digital representation of the patient’s dentition. Its accuracy directly influences all downstream planning.
High-quality data collection ensures that the treatment plan is based on reliable anatomical information.
Stage 3: 3D Treatment Planning
In this stage, digital models are imported into orthodontic planning systems. Teeth are segmented, and movement simulations begin.
This is where treatment strategy is defined, including staging, attachment placement, and occlusion planning.
The planner must balance biological constraints with clinical objectives, ensuring that movements are both achievable and predictable.
Stage 4: Manufacturing Preparation
Once planning is complete, the digital model is converted into a manufacturing-ready format.
Each stage of tooth movement is translated into a physical model used for aligner production.
This phase includes validation of staging sequence, quality control of digital models, and preparation for 3D printing.
Stage 5: Aligner Fabrication
Aligners are created through thermoforming over 3D printed models. Each aligner corresponds to a specific stage in the treatment sequence.
After forming, aligners are trimmed, polished, and inspected for accuracy and comfort.
Consistency in this stage ensures that digital planning is accurately translated into physical appliances.
Stage 6: Clinical Delivery and Monitoring
Once aligners are delivered to the clinic, treatment begins.
Patients wear aligners sequentially, typically changing them every 7–14 days depending on the treatment plan.
Clinicians monitor progress through periodic checkups, ensuring that movement aligns with expectations.
Stage 7: Refinement Phase
If necessary, refinement aligners are introduced to correct minor deviations from the original plan.
This phase ensures that final alignment and occlusion meet clinical objectives.
Stage 8: Retention Phase
After active treatment, retention begins. Retainers are used to maintain tooth position and prevent relapse.
Retention is a critical final step, as teeth naturally tend to shift back toward their original positions without stabilization.
Importance of Workflow Continuity
Each stage of the aligner journey depends on the accuracy of the previous one. A failure in early stages—such as poor scanning or unclear planning—can cascade into later complications.
This interconnected nature makes clear aligner therapy a system-based treatment rather than a linear procedure.
Final Thoughts
The clear aligner journey is a structured clinical workflow that integrates diagnosis, digital planning, manufacturing, and long-term retention. When each stage is optimized, treatment becomes predictable, efficient, and stable. Success in orthodontics is not determined by a single moment; it is determined by the consistency of the entire system.